Happy New Year DIYers!!
How has your 2017 started? Made any resolutions yet? Was one of them to be more organized? If so, then welcome to the first DIY project this year.
My wardrobe though spacious cannot fit all my clothes especially my tops and hubby’s tee-shirts…or i probably need to get rid of some of them. It’s time i applied the less is more principle again. This is what it looked like.
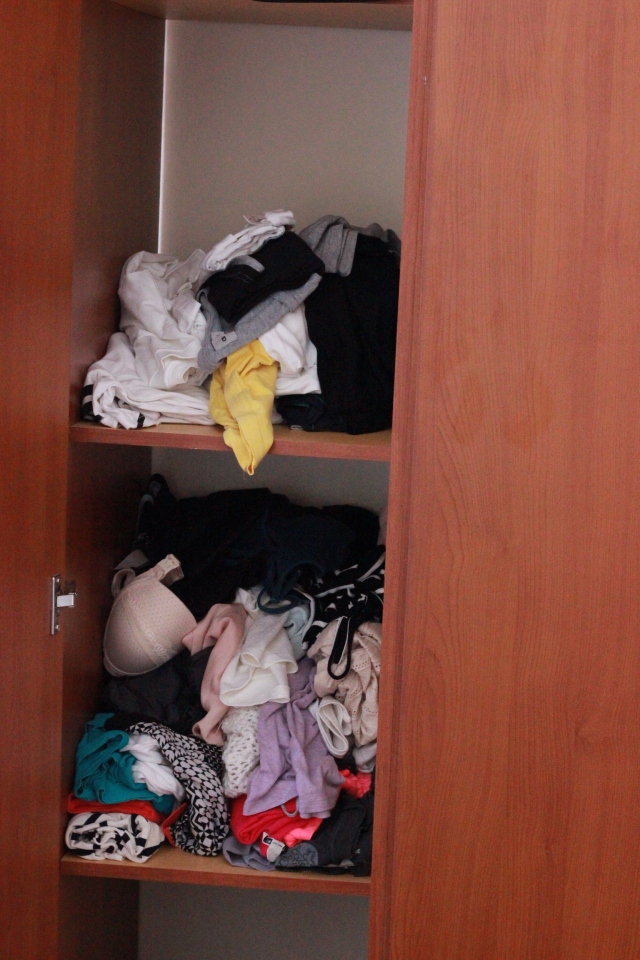
Quite messy…we just throw stuff in and quickly close before they fall out
But new year, new things. Yes?. I definitely needed was more shelving to accommodate all the clothes and make getting dressed hustle free.
I used the good old cardboard used to package the home theater because it is sturdy and easy to cut. The other alternative would be to get plywood from the local carpenter. I took measurements of the space and cut the pieces as below.


Always remember: Measure twice, cut once. This saves you alot of trouble at the end.


The cardboard has folds thus making it weak. This calls for reinforcement of those weak spots. I cut another strip of cardboard which i stapled onto the main cardboard. The end result is a solid cardboard with no folds or weak spots. I used the staple gun a normal stapler won’t work.


Cardboard is not the most attractive thing so next step is to give it a facelift. I used some polka dotted wrapping paper i got from Game Stores.


I marked with a pencil where i wanted the shelve to go. I put in the hooks and placed the decorated cardboard.
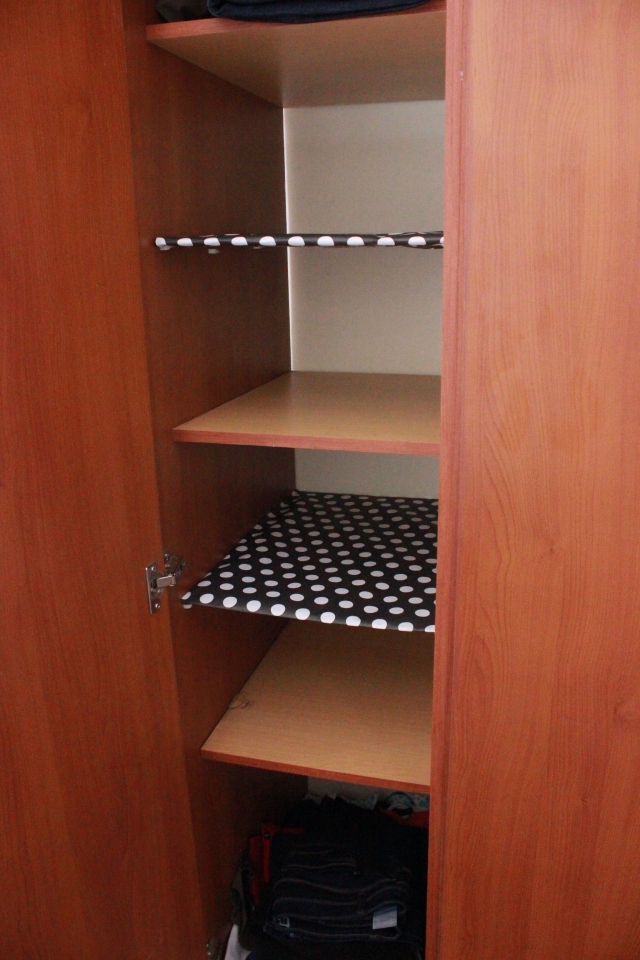
Final product viola! Now to arrange the clothes
Have you done any organizing lately? How did that go?
Keep it DIY!!
